One of my fondest memories is of my grandmother’s cream puffs. Every time we went to visit her, she’d bake these delicious pastries and serve them up for dessert, drenched (of course) in Hershey’s syrup. While these little guys are somewhat tricky to make, they’re well worth the effort. You can do it!
Ingredients
The pastries
This specific kind of dough is called “pate-a-choux.” Don’t ask me to pronounce it.
- 227 grams of water
- 113 grams unsalted butter
- 1/2 tsp. salt
- 150 grams flour
- 4 eggs
The creamy filling
- 2 cups of whipping cream
- 50 grams sugar
- 1 tablespoon vanilla extract
The Process
bake the choux buns
- Heat the oven to 425 degrees.
- Prepare two sheet pans by placing a silicone baking sheet in them.
- In a medium saucepan, combine the water, butter, and salt. Heat over medium heat until the butter is melted, then bring it to a vigorous boil.
- Remove from heat and add the flour in one smooth pour, stirring the mixture continuously with a wooden spoon or a spatula.
- Turn the burner to medium and return the pan to the heat, stirring continuously. The mixture will become smooth and start following the spoon around in the pan.
- Remove the pan from the heat and place on an elevated trivet. Let it cool for ten minutes.
- Let the dough cool to 125 degrees. If you don’t have a thermometer, it should be cool enough to hold a finger to it for several seconds.
- Transfer the dough to a stand mixer. Add the eggs one at a time, beating at low to medium speed. It will look weird but keep going. After the final egg, the mixture should look smooth. Beat for two more minutes once it looks smooth.
- Scoop the dough out by tablespoons onto the prepared baking sheets.
- Put the buns in the oven and bake for 15 minutes. Leave the buns in the oven and turn the heat to 350 degrees. Bake it for another 20-25 minutes.
- The buns should be a light, golden brown in color. Do not open the oven door while baking; do your best to see how they look using your oven light.
- When they are done, remove them from the oven. Using a sharp knife, poke a slit into the top of each one, then return them to the oven for five minutes.
- Remove the buns from the oven again and let them cool on a rack. Once you can handle them, cut them in half horizontally and let them cool. Skipping this step may result in soggy buns, which most of us don’t enjoy!
- While the buns cool, make the cream filling. You could also fill these with pudding, pastry cream, or even buttercream if you want to get real wacky.
cream filling
- Pour the cream into a stand mixer equipped with the whisk. Beat on medium-high speed.
- While the cream whips, sprinkle in the sugar. You want the cream to have stiff peaks, but to still be smooth. Try not to over-whip it.
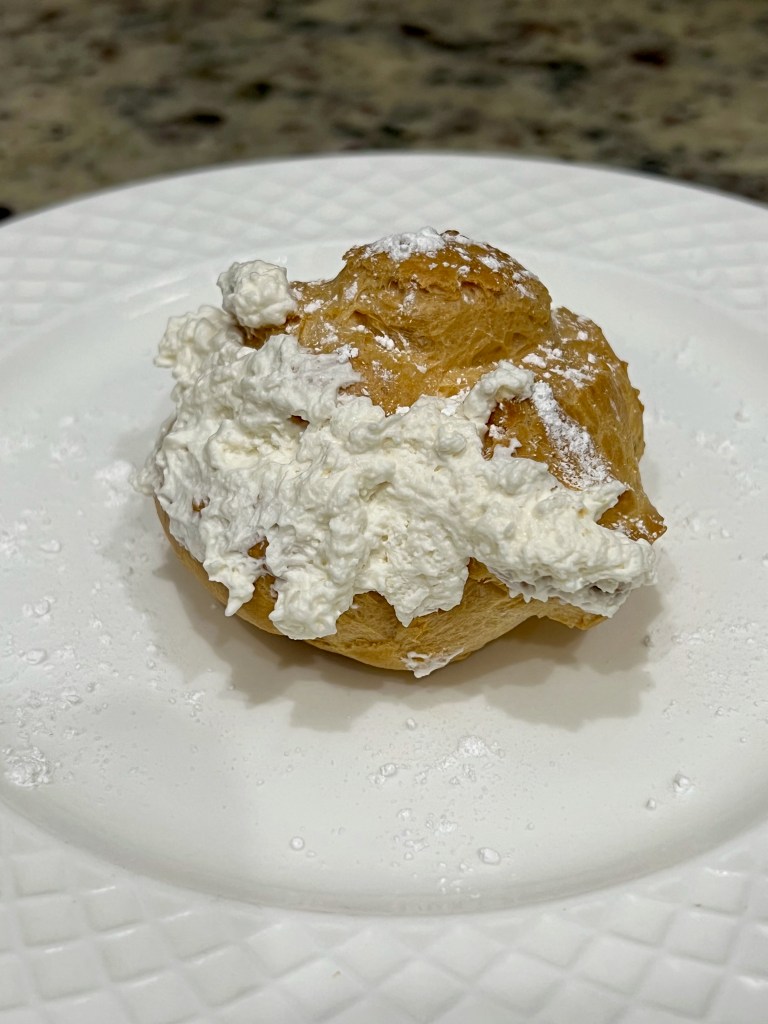
- Once the buns are cool and dry, fill the buns with the cream mix. Just before serving, garnish the buns with a dusting of powdered sugar or a drizzle of chocolate syrup.
Storage
Cream puffs are best eaten fresh, but while you can eat 24 cream puffs at once, you probably shouldn’t eat 24 cream puffs at once. Once filled with cream, these pastries should be eaten within 12-24 hours to prevent them from getting soggy. They are best stored in baggies in the freezer, and can be eaten frozen or thawed for about 20 minutes before consuming. Enjoy!
Did you enjoy this recipe? Check out our other recipes on The Recipes page!
